Doug in Costal Carolina had an interesting sequence of events which eventually led to his successful well. His soil was sandy and he had a high standing water level of five to 10 feet. Perfect for a drill your own well project.
In his first attempt, he washed down 24 feet of two inch PVC using bentonite slurry to solidify the sandy walls of his well. . Then he put a 1.25 inch well screen inside and pulled the two inch piece up and out of the ground. Unfortunately, it lifted the 1.25 inch piece up a few feet.
For the second well he washed down 25 feet of two inch pipe (using bentonite) relatively easily. Then he put his 1.25 inch well screen pipe in. Unfortunately when he lifted the two inch pipe out of the ground, the 1.25 inch well screen pipe came out too. This was because he was using inside couplings on the two inch piece and the 1.25 inch piece just got stuck.
I have probably not emphasized this enough. It is important to use full size two inch couplings. The kind with long appx 1.5 inch sleeves for the two inch pipe to fit in. And use that nasty purple primer. You need all of this to get a good strong joint between the sections of two inch pipe.
Doug had trouble sourcing the longer two inch couplings. In my area that is all the big box stores sell. Obviously this varies by location. Just be sure and use the long ones.
Next well he encountered a fine grey sand at 20+ feet.
Then he stuck his drillpipe. He got 30 feet down which is impressive but it stuck. He provided this info about his solution: To get a stuck well out of the ground, use a rope, two 2x4s, and some cinder blocks to create a lever. The trick is tying a pipe hitch knot onto the pvc pipe and the lashing the other end to the 2x4s (one on each side of the pipe). The nice part of this technique is when tension is released from the pipe hitch knot, you can slide it back down the pipe. When tension is reapplied, the pipe hitch knot grips and lifts the pipe. Two people can quickly lift out even the most stubbornly stuck pipe many feet.
Next, Doug used the longer two inch outside couplings and things went much smoother. He got the pipe down so easily he felt he could go 40 feet but stopped at 30 feet. This hole accepted five gallons per minute so it seemed very promising.
To develop the well he put a pipe bladder down it and just blasted it for a few hours.
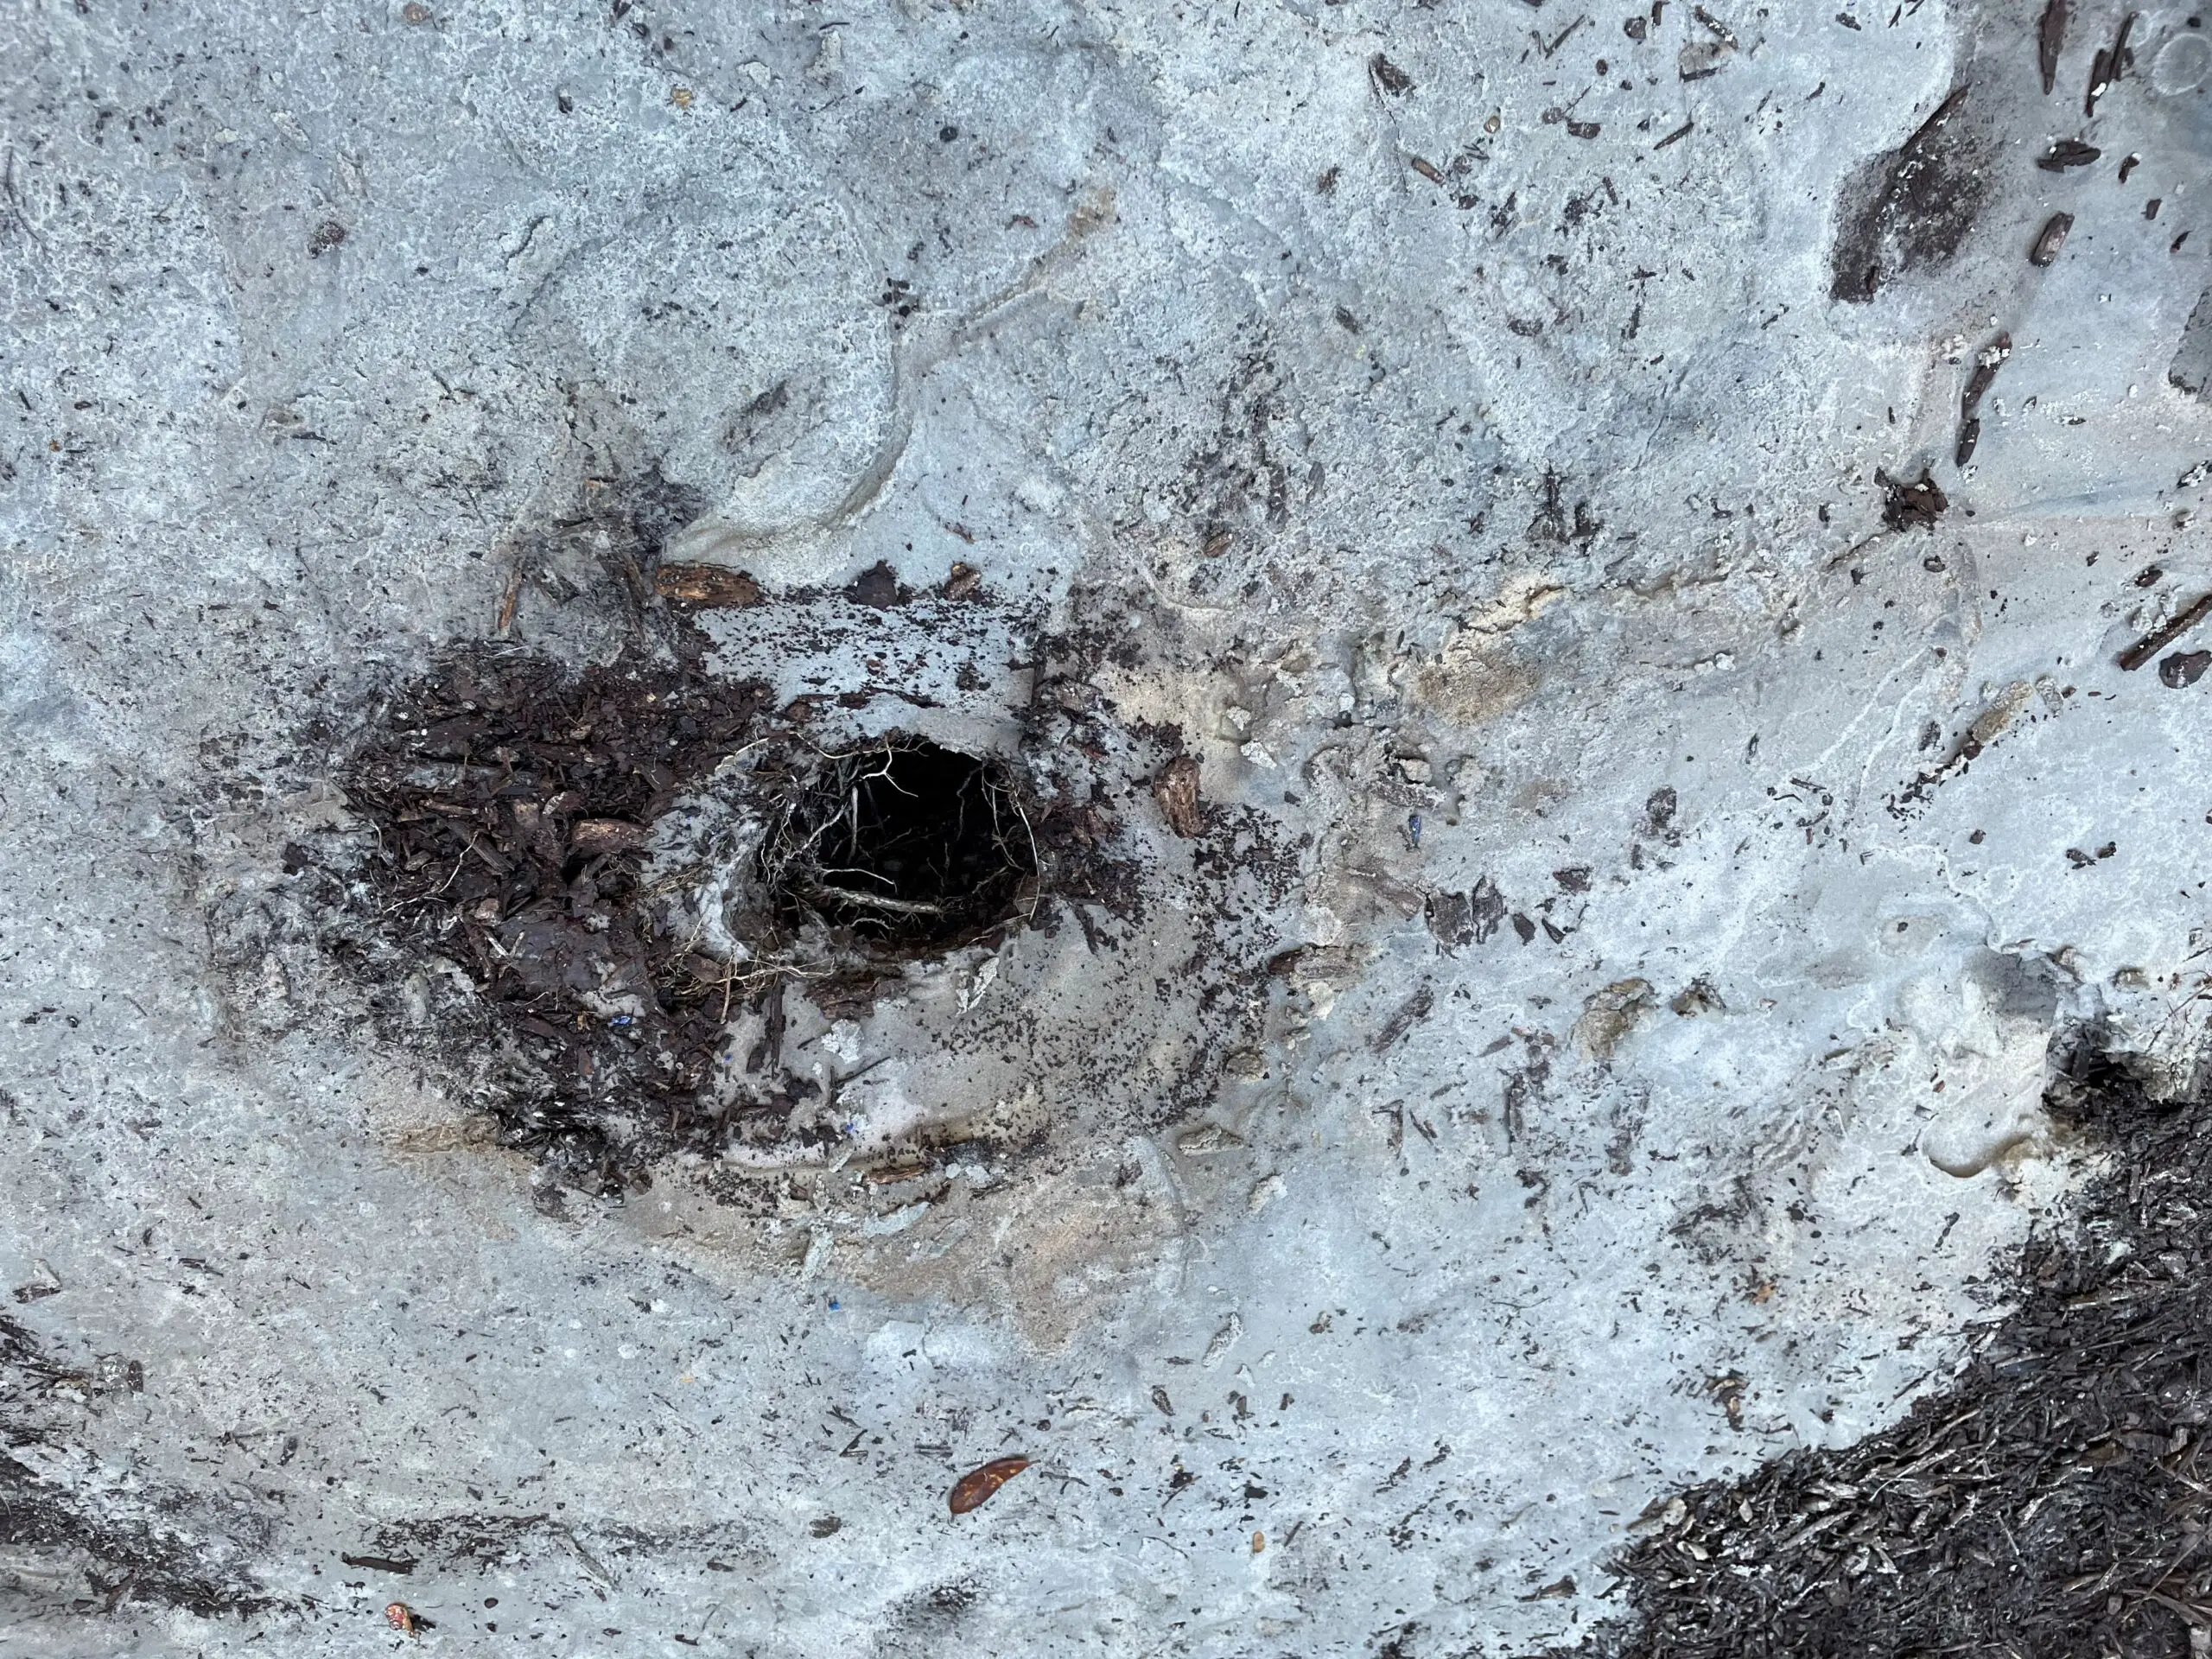
Here is a picture of Doug’s well being developed.
He repeatedly blasted air into the well. It took a while but it worked!
Doug connected a pump and got 10.5 GPM initially and dropped to 7.5 GPM over the next hour. He wanted more output so he decided to put down another parallel well.
The next drilling didn’t go as “well.” But a few days later he got down 38 feet! He hit a harder material and the well did not produce as expected. He suspected bentonite might have been the culprit. He ran a one half inch piece down beside his drillpipe to try to loosen up the sand so it would give water. Then he blasted it with the surge bladder. Then he blasted water down his 1.25 inch well screen pipe to try to loosen things up at the bottom.
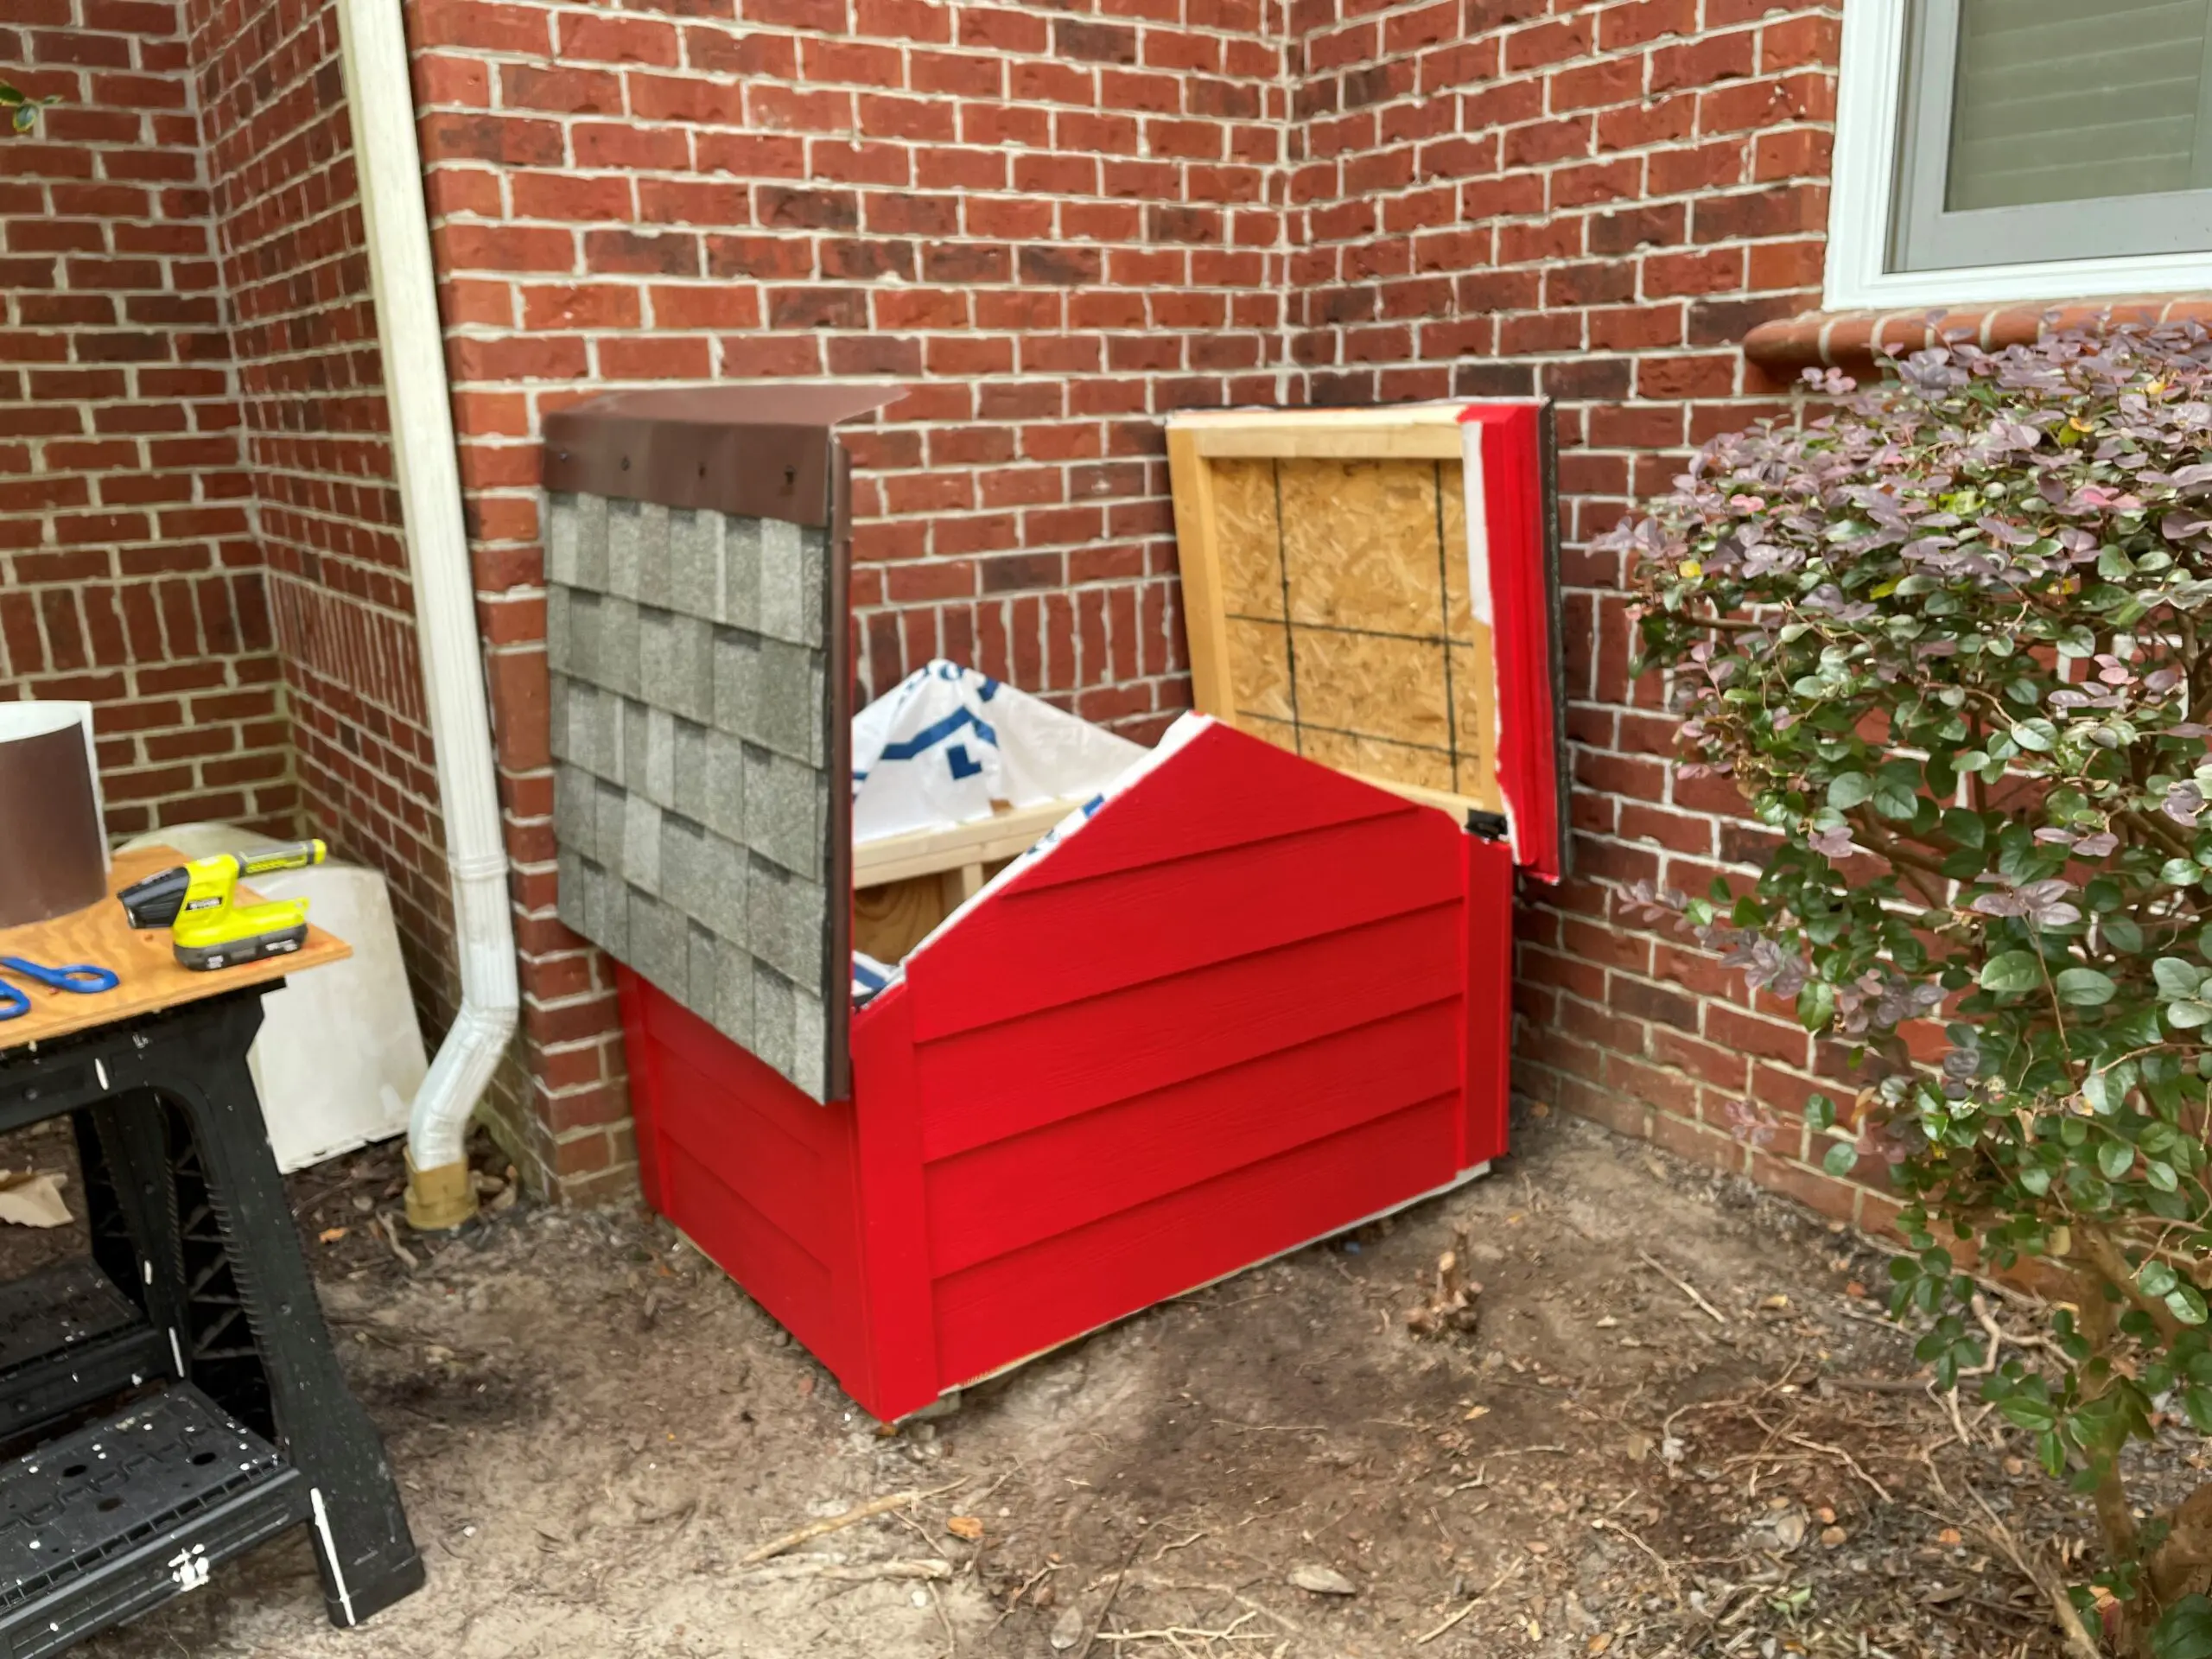
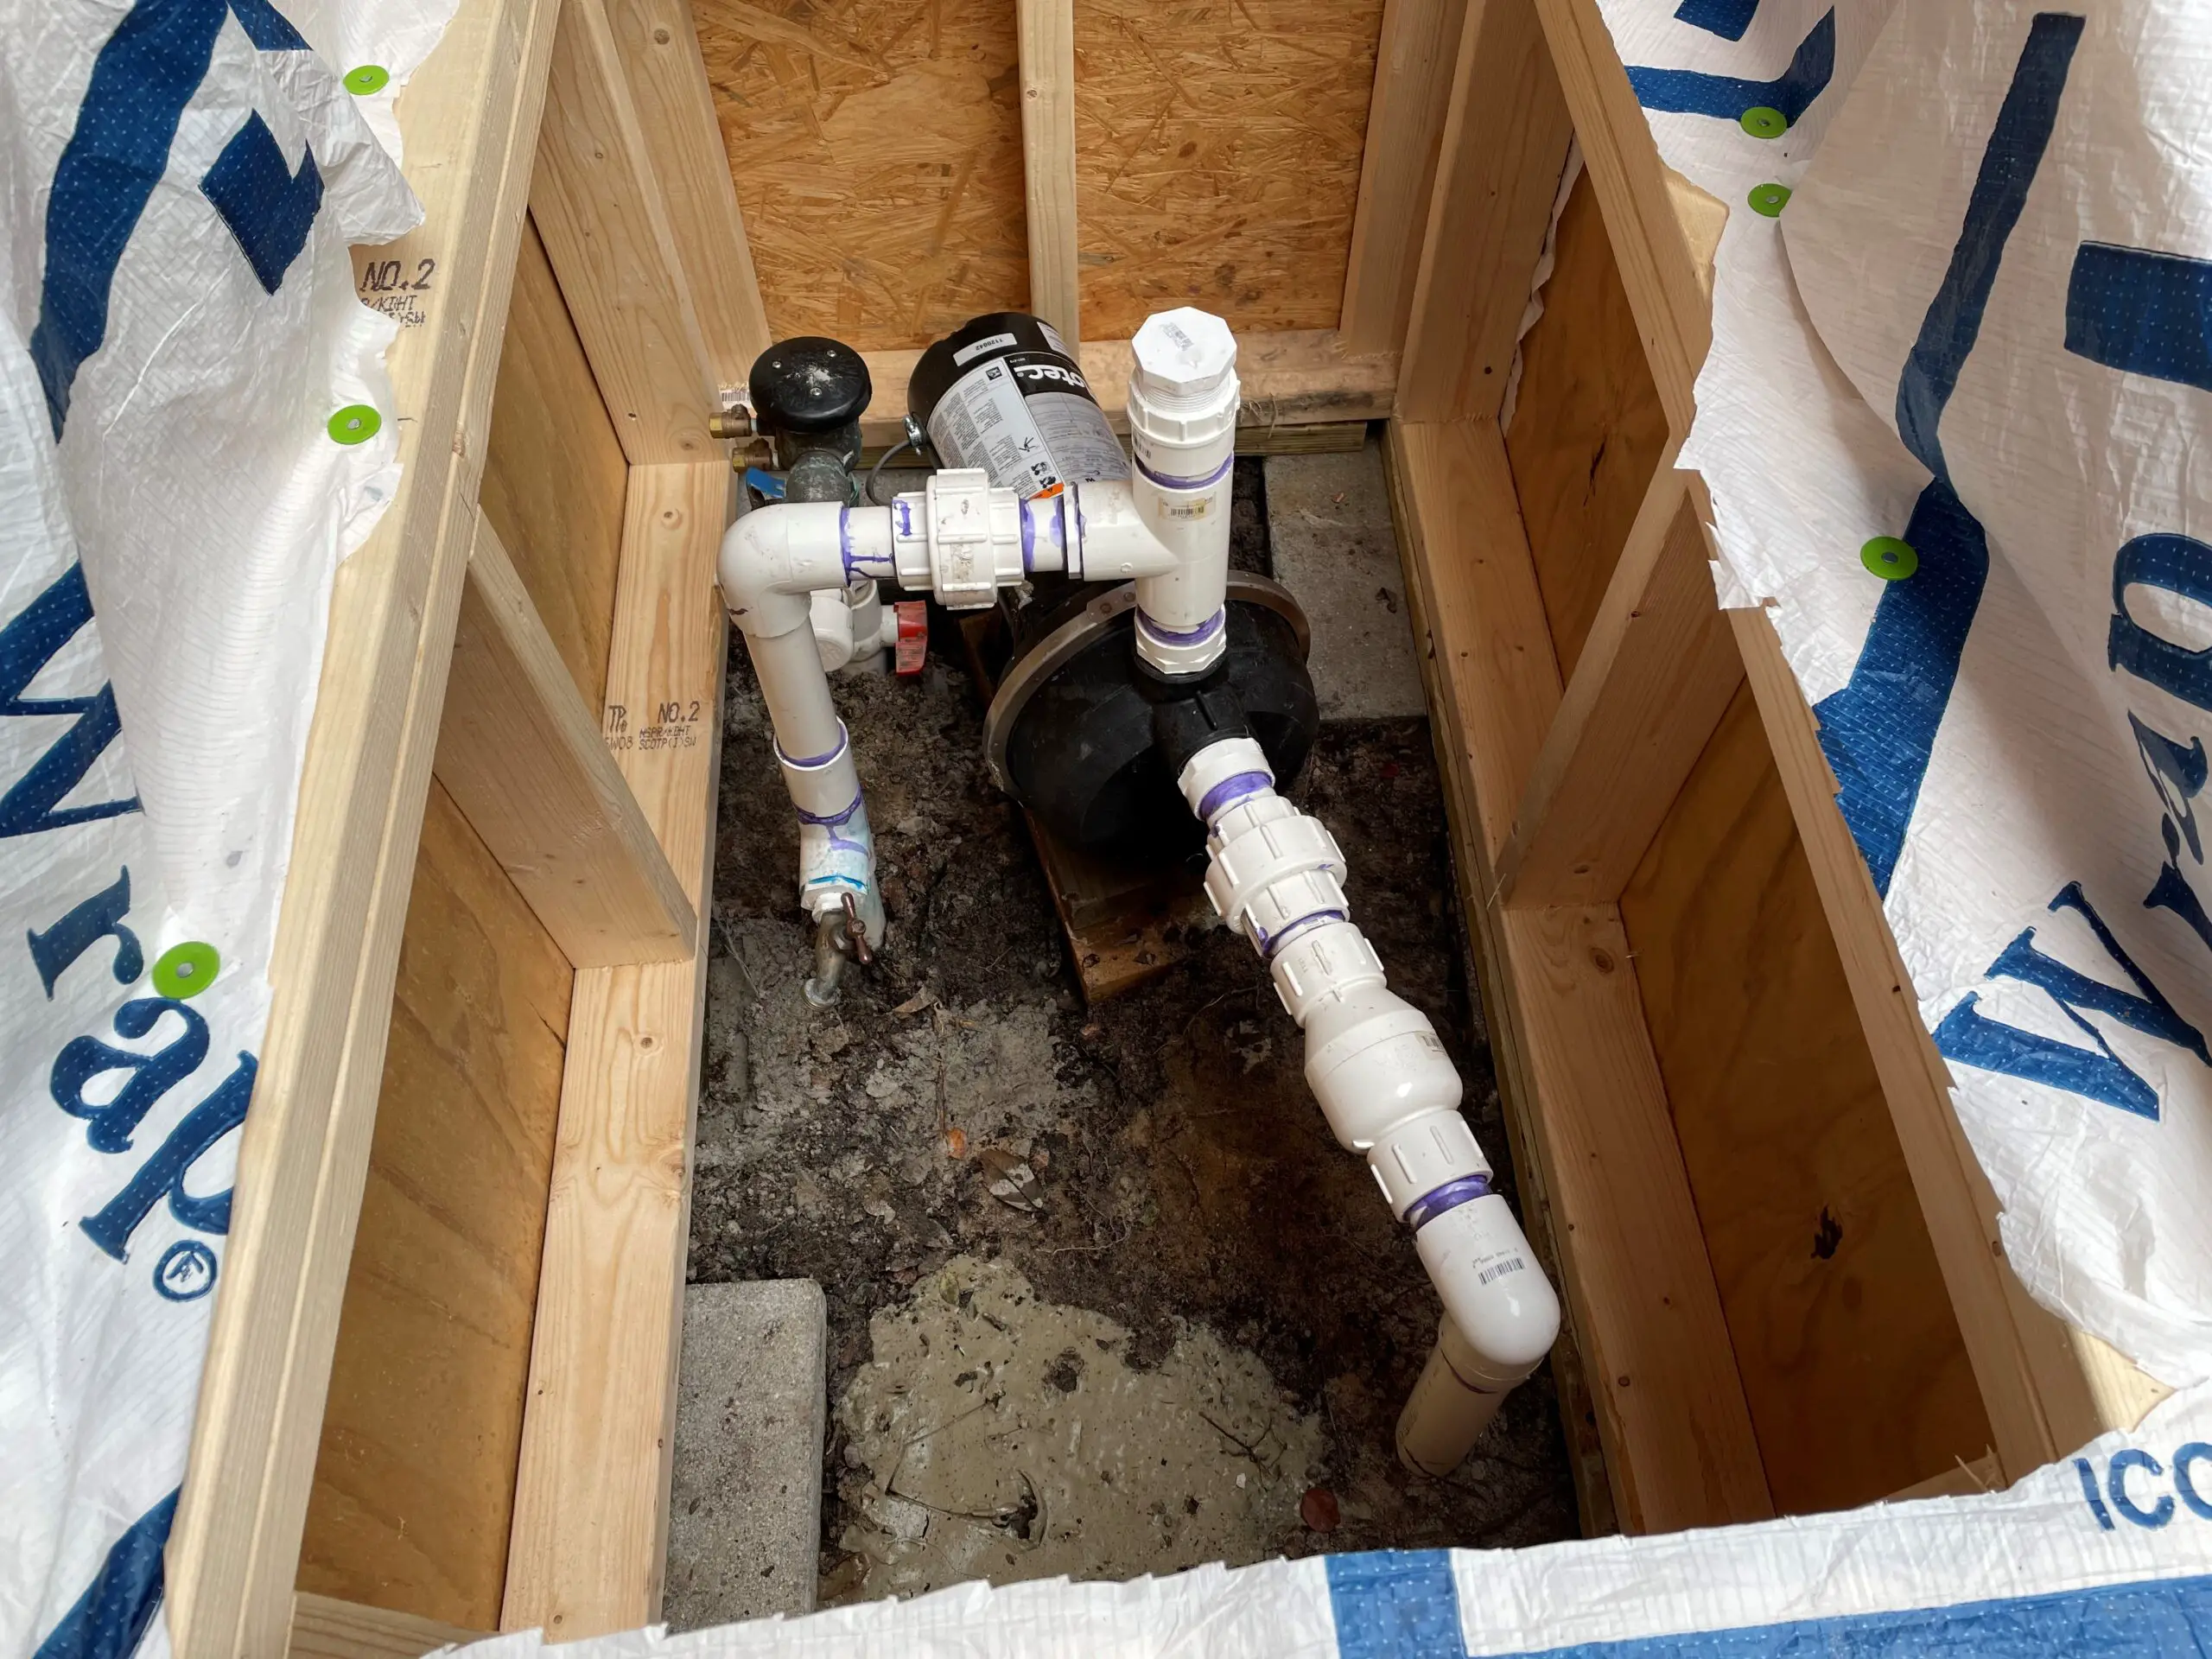
He connected the three wells and got 14 GPM to start and it settled down to 10.5 GMP after 30 minutes. Quite a model of perseverance if you ask me! Pictures of his wellhouse and his comments are below.
Doug’s well is enclosed in a wellhouse – pretty slick!
From Doug……
I would like to thank Mike Willis for organizing this website. Like many before me, I got tired of paying city water and sewer rates, so I decided to drill my own well. What follows are my lessons learned. I hope it helps someone in the future. My situation is on coastal NC with sandy soil. The first thing to do is to read everything on this website including the success stories. Take notes as you plan on what you will do and write down tips so you won’t forget them.
PLANNING
Determine how much water you need
I wanted 12.5 gpm to run 5 sprinklers per zone on my irrigation system (each with 2.5 gpm nozzles).
The minimum I could live with was 7.5 gpm by switching to 1.5 gpm nozzles.
Based on your gpm target, determine how many well screens you will need. A conservative plan would be 3-4 gpm per 5’ well screen (I ended up installing 4 of them).
Determine the static water level at your location. Best method is to wash down a ½” or 3/4” pvc pipe (20’?). You should wait a day to measure the static water level as washing a pipe down raises the water level temporarily.
Plan on drilling deep enough to put the top of the well screen at least 10’ below the static water level. If you have neighbors with shallow wells you might get an idea of how deep to drill.
My static water level is 15’, so my first two wells were 30’ deep with a 5’ well screen (top at 25’ which is 10’ below static water level). My 3rd well was planned for 40’ deep with 2 well screens in series. I ended up hitting hard clay at 38’, so I set the top of a 10’ screen section at 25’ with bottom at 35’.
If you don’t know where the best water bearing sand is, my recommendation is to wash down a double length screen as the cost is small compared to the effort of drilling a well and it gives you a better chance to put some of the screen in good sand.
Plan your well layout based on your pump location. Keep wells 10’ apart so they don’t compete with each other for water.
Plan on more time than you think it will take. It took me several days of drilling and learning before I had enough water flow. You will have a learning curve.
PURCHASE OF PARTS
Don’t use inside couplers for the drill pipe. My mistake was using inside couplers for both the 1 ¼” well pipe and the 2” drill pipe. The clearance is too small and it does not take much (small piece of debris) to jam the two pipes together making it impossible to pull up the 2” pipe without bringing the 1 ¼” pipe at the same time. Use outside couplers for the 2” pipe.
Do build the upgraded well head. It makes adding bentonite easier and faster.
Do use the long couplers. I needed to leverage a stuck pipe up with 16’ 2x4s and the joints never failed.
I had a hard time sourcing Bentonite powder. Dr Elsey’s cat liter is 100% bentonite. Get a thrift store blender and powderize ~5 lbs of cat litter for each well.
WELL DRILLING
You can mix up Bentonite slurry the day before. It will hydrate and thicken up overnight. You can dilute if needed the day of drilling.
Maximize water flow for easier drilling. I bought ¾” hoses of the minimum length I would need vs standard ⅝” hoses. It makes a difference.Having a second pair of hands really helps! (Many thanks to my neighbors.)Drill slower than you think you need to. Give time for cuttings to wash up the entire length of the bore hole. If you go too fast, cuttings begin to settle vs flowing out the top. Too much settling and water flow stops and the pipe gets stuck.Add bentonite when the pipe gets “sticky”, but do not add any more bentonite once you get close to where you plan on putting the top of your screen. I got pretty good at removing stuck pipe. An easy method is to use a pair of 2x4s straddling the stuck pipe as a lever over some cinder blocks. Tie a pipe hitch knot onto the stuck pipe and lash the other end of the rope around the lumber. The nice part of this method is you can push the knot down once you relieve tension letting you and a helper quickly raise a stuck pipe as far as you need to until it is loose.If you are going to reuse your drill pipe, plan on cutting up the drill pipe into ~10’ sections. Longer sections are harder to handle. If your well head blows off the top, it is hard to reattach the drill head on a long section way up in the air. Do yourself a favor and get enough couplings to keep your drilling pipe lengths manageable.
WELL DEVELOPMENT
Once you have your well screen set at depth, I recommend spending time to develop your well. Internet searches suggest an undeveloped well is only 10% efficient.Over pumping (drawing a lot of water) is not efficient as the flow is only one way and packs fine sand into the coarse sand around your well screen. Backflushing with a drain blaster helps some (I think by cleaning out the well screen slots) but not much as the flow is again unidirectional.
Literature says surging a well back and forth is the most effective way to develop a well. Compressed air can be used to lift the water column in the well pipe. The rapid flow pulls fine sand thru the screen. You will notice that the water being ejected from the pipe by the air blast is dirty with sand. The water remaining in the pipe falls back down flushing water the other direction. Ideally you would continue to blast away until the water quality clears. I did it for a full day on my 3rd well greatly improving flow. Here was my procedure.
Run a compressed air line to the bottom of the well with a full port valve in line so you can open and close air pressure quickly.
(I had an 8 gallon Harbor Freight compressor and could get 5-8 blasts per tank).
Wrap the bore hole opening with rags to stop the ejected fine sand from going back down the bore hole.
Open the valve and shut it off when water shoots out the top of your pipe. I’ve attached a quick video of a compressed air blast.
Keep doing this as long as you can. I set up a chair in the shade and did this for a full day. By the time I was done I could no longer overflow the well pipe with my garden hose. (The well could take all of the water I could supply it.)
I occasionally purged sand from the bottom of the well by cutting the female end off a ⅝” hose and overflowing the well pipe (insert the hose to the bottom but once you see sandy water come out go slowly (much like drilling)). If the hose gets stuck, shut the water off and pull.
Connect your pump and run the well until clear (mine cleared within minutes after startup).
This method works best with a deep water column and shallow static water line. My well was 34’ deep with 15’ static water line and it worked.
SUMMARY
My end result was 14 gpm dropping to 11 gpm after 30 minutes of pumping time which runs all of my sprinklers very well. Again, many thanks to Mike for being so great about answering all of my questions.
UPDATE 1/24
Doug advises he found a small leak on the suction side of his pump and fixing it provided additional GPM output.