Congratulations to Greg in Australia on what he calls the, “Oz Well.” He began with a more or less conventional auger. It worked well through clay but kept coming up empty once he got into sand.
Greg then fabricated an ingenious and unique auger with a built in valve. The valve allowed the auger to capture sand as it was twisted down into the earth. Greg periodically emptied sand from the auger, permitting him to continue augering down. He explained that prior to fabricating rubber valves for the auger, the sand simply fell back down in the hole.
He augered a hole large enough to install a well screen with a submersible pump. Very impressive, Greg!
Conventional Auger Greg used in beginning
Next, Greg made this auger with a valve so the sand could not fall out.
Bottom view of Greg’s Auger showing rubber valve
Top view of Greg’s Auger showing rubber valve
Greg provided the following information regarding his drilling project:
Hi Mike, Thanks for a lot of useful info on your site, I have attached a few pics to show my bore. Dug with a home made 115mm auger using 1.2m lengths of 20mm gal pipe and sockets, then sand pump with rubber valve when it got to the sand, I only get 2L/min or more for shorter periods but it is much more than I can use. (@3000l/Day) 4″ submersible pump and a bore cap made from a 100mm gal steel fence post cap works just fine.
…
The thing I call a sand pump is very simple and I am sure it has been made before is to remove the wet sand.
I used a hand made auger to dig the well in the firm ground but once I hit sandy clay the auger kept coming up empty (and clean), all the sand was just falling out, I could keep digging but eventually it cot too hard with all the sand on the auger.
I first came up with the brainwave to use a 90mm pvc storm water pipe for the sand pump.
Abour 500mm long with a threaded cap on each end, the bottom end had 6 20mm holes in the cap and a 2mm thick rubber disk on the inside to close the holes on the upstroke, a small bolt in the centre kept it in place.
In the top cap I installed a 3/4″ nipple to attach the end of my auger shaft once the auger was unscrewed, this kind of worked and filled with sand on the down stroke but it was too weak to last long and so I had to make a stronger version.
I made the new pump from 100mm dia steel pipe, on the bottom I had to fit a centre to hold the rubber disk so I used a piece of 12mm dia steel bar on which I welded 4 blades, I them spun the assembly in a lathe so it would fit in the end of the pipe, machined a point on the bar and ground the blades so they would cut if required.
I tapped a thread in the top of the bar to hold the rubber disk, (Countersunk washer & screw) the disk had 4 cuts in it but I think it may work better without the cuts as it lost a lot of its rigidity and sometimes leaked.
I would basically cut about 300mm with the normal auger than remove it and fit the pump which I could lower into the hole and as it neared the bottom I would force it down and it would fill with slush.
Gently lift it out again and it would be full of sand & water.
Slow process but it worked well and cleaned the bore to the bottom.
It was especially useful when I decided to enlarge the diameter of the hole from 114mm to 145mm, I welded extra blades on the auger and cut my way down the hole.
I did this as I decided to follow the standard bore installation guidelines (including disinfection) and use Schedule 9 pipe which of course has a larger outside diameter
As you would expect it filled the hole with slush and the pump enabled me to remove it all, it took about 6 hours to cut the hole bigger and clean it out (9.3m).
I didn’t want to go any deeper as I hit clay again and thought it was a good enough supply, I didn’t need much water.
The whole thing was really only an experiment anyway.
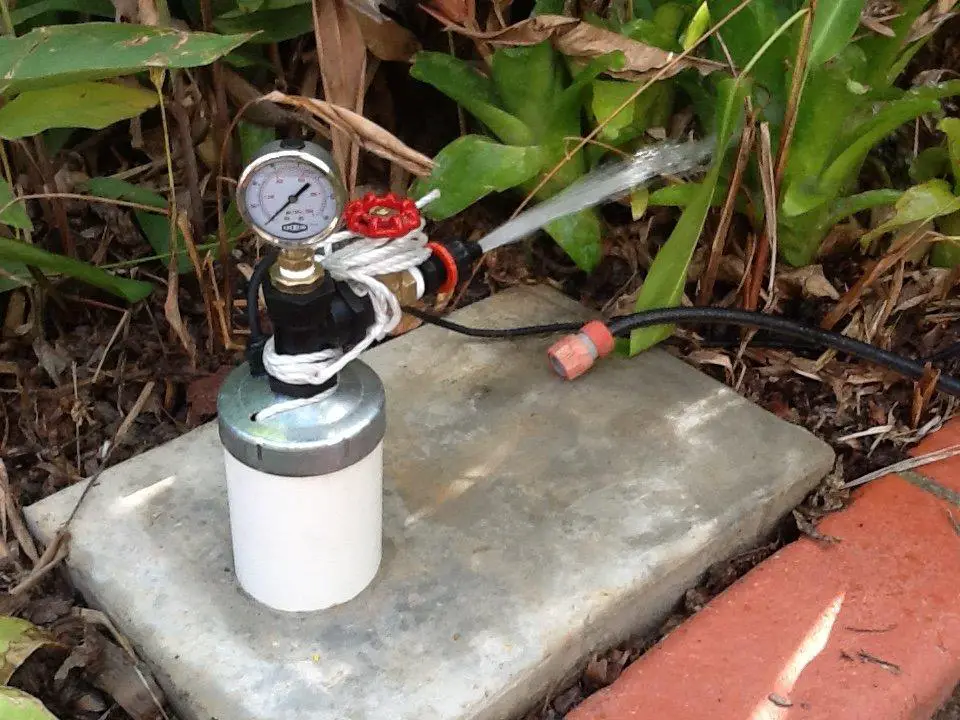
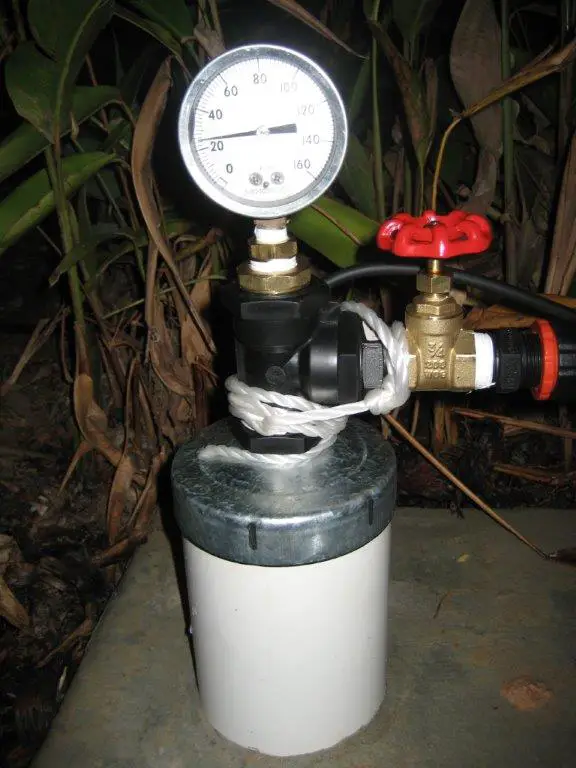
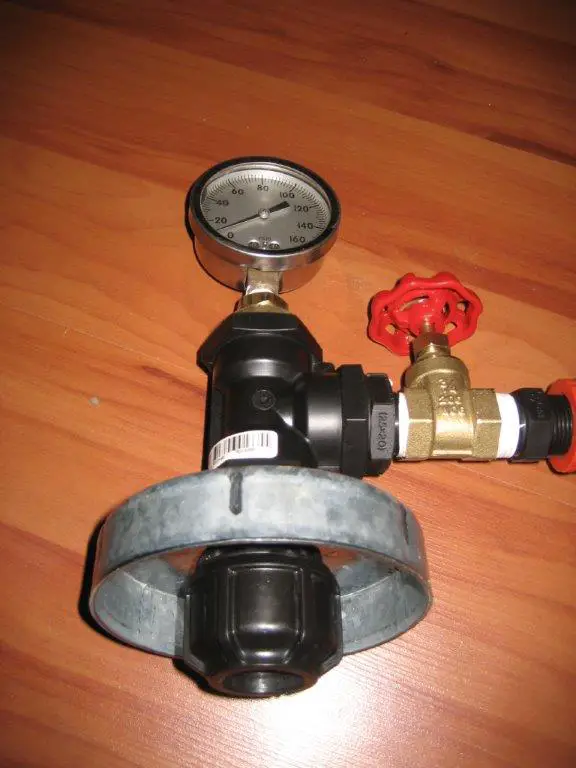
I have fitted a 3/4 hp submersible, it was the smallest I could get for a reasonable price, it pumped the bore out far too quickly but if I closed the gate valve to restrict the flow the pressure increased to 100psi and obviously loaded the pump (And power usage) which I was not happy about.
So what I did was a little experimentation, I put a “T” in the outlet at the top so some of the water pumped out went back into the bore thus reducing the overall extraction rate.
I used a plastic cap on the end of the pipe going back down the bore and drilled a bleed in it, I increased the bleed hole diameter until I had a compromise between pressure and extraction rate.
Once I got the right bleed size I installed it just above the pump pointing upwards, its just a “T” in the outlet line at the pump with a 90deg pointing upwards and the bleed cap.
It prevents me pumping the bore dry as well as giving a audible warning (If I listen at the top of the bore) of when the level is low, also instead of running dry I get bubbles in the water flow as the pump takes in air but does not run completely dry.
This also means the pump runs without any real load so lower power use etc.
What I actually do is run the pump at about 12l/m for 5 minutes every 15 minutes during the day as I have solar power on the house, this means I get the most water with the least pump run time.
This is enough to water the garden and general yard watering.
I am installing a 5000l tank and pump next week so I can fill it and keep it full so I can get all the water I want when I want it.
Hope this all makes sense.
An interesting and satisfying experiment. The hard work digging was good for me.
The whole thing started when we had a really heavy rain storm (200mm in @ 2 hrs) and I decided to put in additional drainage, when I went to install a storm water pit the hole kept filling with water because of the high groundwater level so I thought I would dig a bore to make use of it.
The level has settled at about 2 m when it is dry.
Kind regards
Greg
…
I asked him about his pump.
Hi Mike,
The pictures attached are of the pump, I suppose it is not really a typical pump, its just what I call it,
It is attached to the long length of pipe I use to drill the hole with the auger once the auger is removed.
The top of the pipe has a “T” handle like a normal post hole auger and you push it down into the mud at the bottom of the bore, the slush is forced up past the rubber valve and stays there as you lift it out to empty it.
It can bring up about 250mm of slush each time.
I was using the “Pump’ twice to each 500mm of hole digging with the auger.
Painful swapping from auger to pump each time but it works fine.
The timber across the hole with the pieces of angle allowed me to bring the pipe about 3m at a time so I could remove it in pieces without it dropping down the hole, the joiner (3/4″ union) where I unscrewed the tube sat behind the angles so the tube could not fall into the hole.
Once you get longer than about 6m the pipe and handle is a bit long to lift out safely so I would take it apart each time.
Bit hard to explain all this in writing.
Regards
Greg
Here are pictures of his installation as well as a sample picture of a pump like his.


The pump Greg used
Many thanks to Greg for sharing his story with us!