Congratulations to Patrick in Houston for a successful well! Pat had to work his way through several problems that I will let him tell you about. He used a mud pit to drill and later cut his own well screen.
As information, this site gets more hits from Houston than any other city. It is flat and has a high water table so it is good for this type of “drilling.” In second place is Jacksonville, Florida.
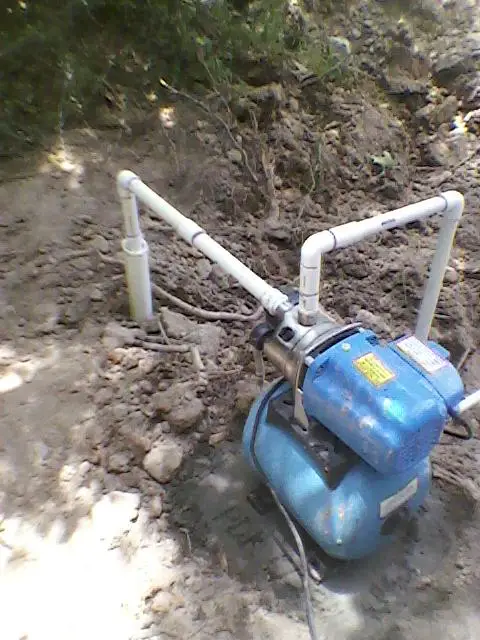
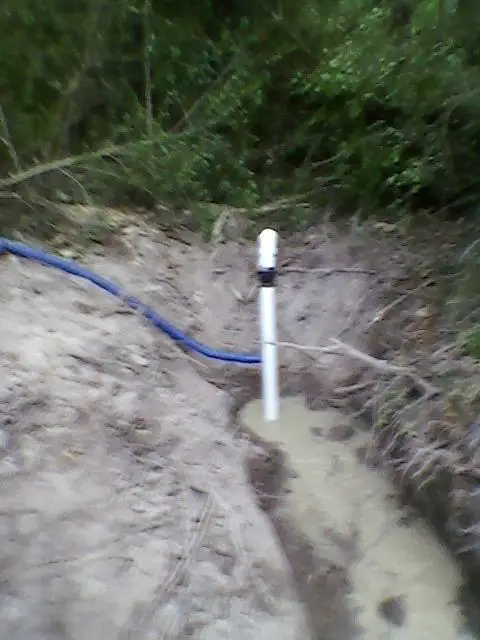
Finished Well
Good day Mike,
Thanks for the info provided by your site. I just successfully complete my first working well using ideas I got from your site. I did a few things different from your ideas and didn’t know if you would be interested in hearing more about them. If interested, I will provide more details and photos to assist other in doing it also. (I was, he did!)
1. Since I was 400ft from a water supply I dug a catch basin next to my well site to store and catch water from the drilling process.
2. I used a 1 hp dirty water pump in the catch basin connected to a 1.5″ flexible hose delivering water to the drill head.
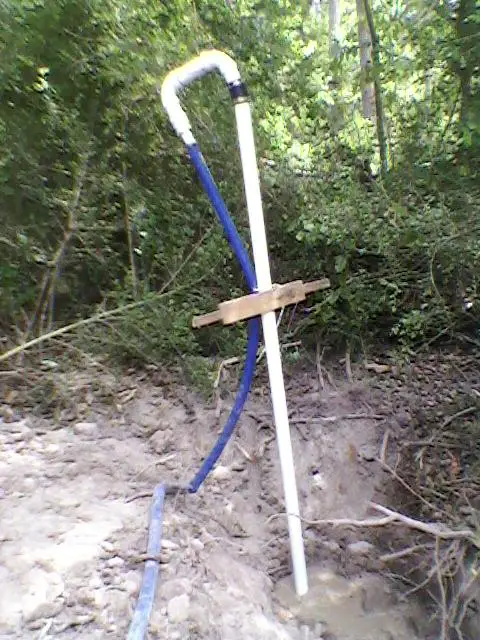
3. I didn’t use a gravel pack or a well point, Instead I pulled the 2″ pvc drill stem out and replaced it with a new 38’ long 2″ pvc pipe, in with I cut about 200 slots in the bottom 10’ of pvc pipe using a saws all. Inside that 2″ well casing I inserted a 25’ FT long 1″ PVC with a standard foot valve. Thanks for your very informative web site.
Patrick
Houston, TX
About a week later I got this email along with the pictures posted here!
Good day Mike,
Attached is a zip file of the pictures I took during the drilling process. In some pictures you will see an excavator arm which I was using to support the drilling pipe/drill head assembly, it was also used to dig the water catch basin and then fill everything back in when done. The entire project took me over a week, the first 2 days I was only drilling about 10 feet in 8 hours, not contantly drilling…took many breaks. The first 2 days I removed the drill pipe in the evening, after that I left the water running constantly during the rest of the project. Day 3 was very disappointing 18″, after that it went quick, hit the 1st of the sand layers. After the 4th day and reaching 38 feet I let the pump run for a few days, I was tried of drilling and figured the flowing water couldn’t hurt.
I figure it went slow for 2 reasons: 1) The pump—delivered a high volume put no pressure, when pushing down into the clay the water flow would slow or even stop and; 2. The soil—we are in a bad drought and the first 21’ was hard pack & clay
Patrick,
Houston Texas
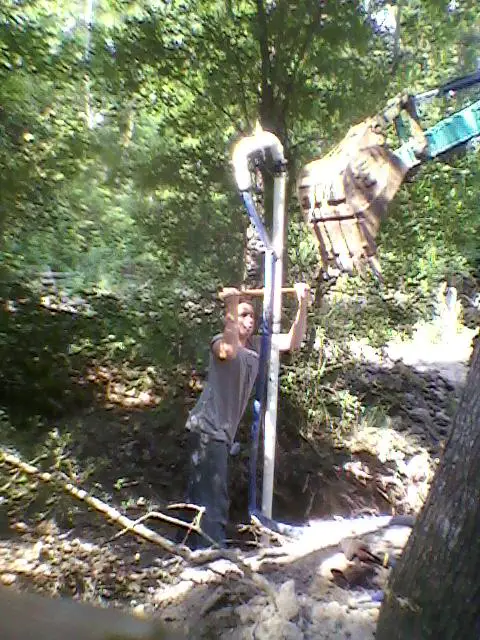
Drilling!
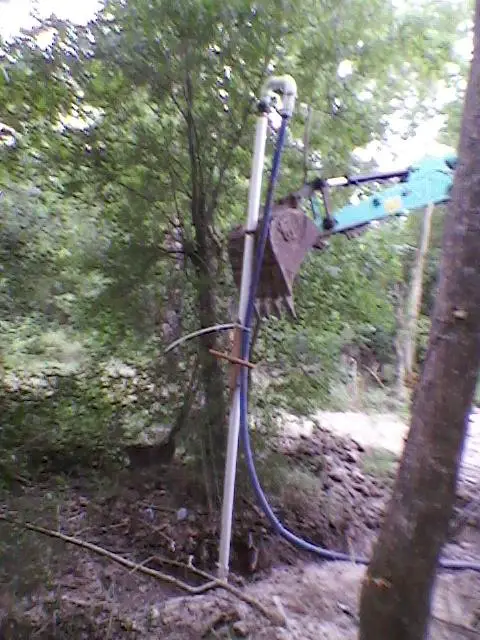
Mighty handy to have a backhoe around when
you need to pull the pipe up!
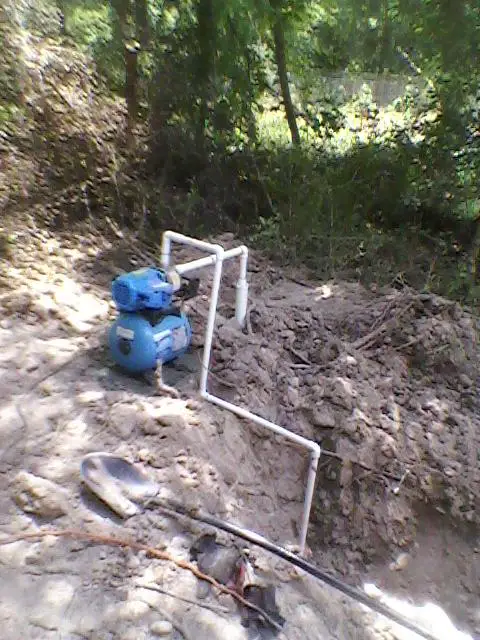
Pat’s settling pit. This permitted him to re-use his water with a mud pump.
He did not have access to two hoses. With a good mud pump, this is a far superior technique to using two hoses.